Hello everyone!
Today we are sharing with you a beautiful project created by our designe Sveta Lisitsina.
Do not forget that Fabrika Decoru has prepared a bonus for you! At the end of the post, you will find a DISCOUNT PROMO CODE for the materials that Sveta used to create her project! Take advantage of the wonderful opportunity to purchase high quality materials! Active links to materials and terms of use of the promo code are at the bottom of the post.
Let's see what Sveta tells about her inspiration: "A girl's mood and inspiration are so changable) Today I want to share with you not a New Year project, and not even a winter one!
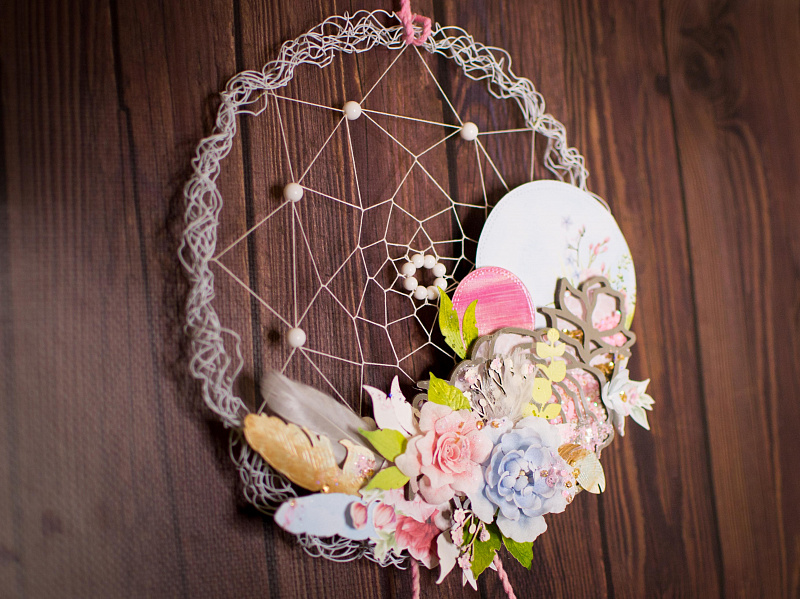
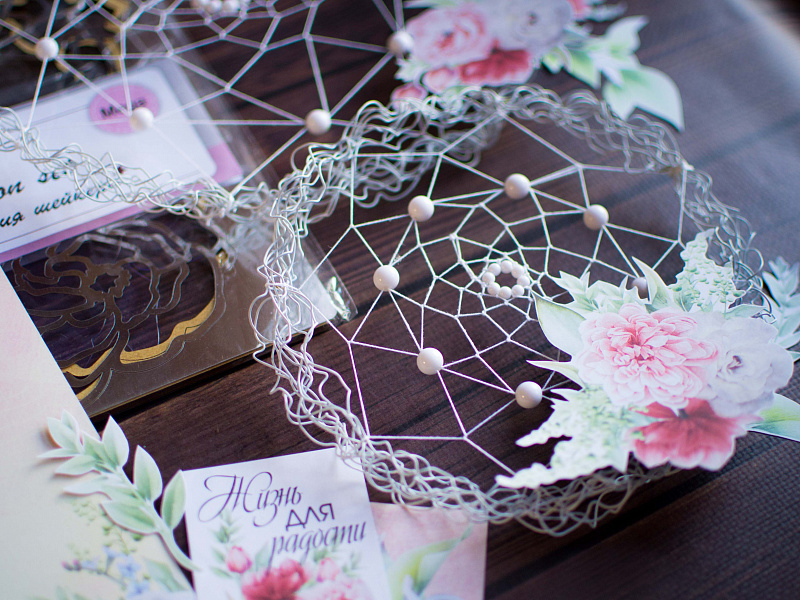
Today I have a handmade dream catcher.
My dream catcher consists of two parts.
It's more than 1 m long so it's really hard to take a photo. The basic element is a mega shaker with lots of tiny elements.
I would like to share my photo tutorial on how to make such a dream catcher. Hope, you will find it interesting, inspiring and useful.
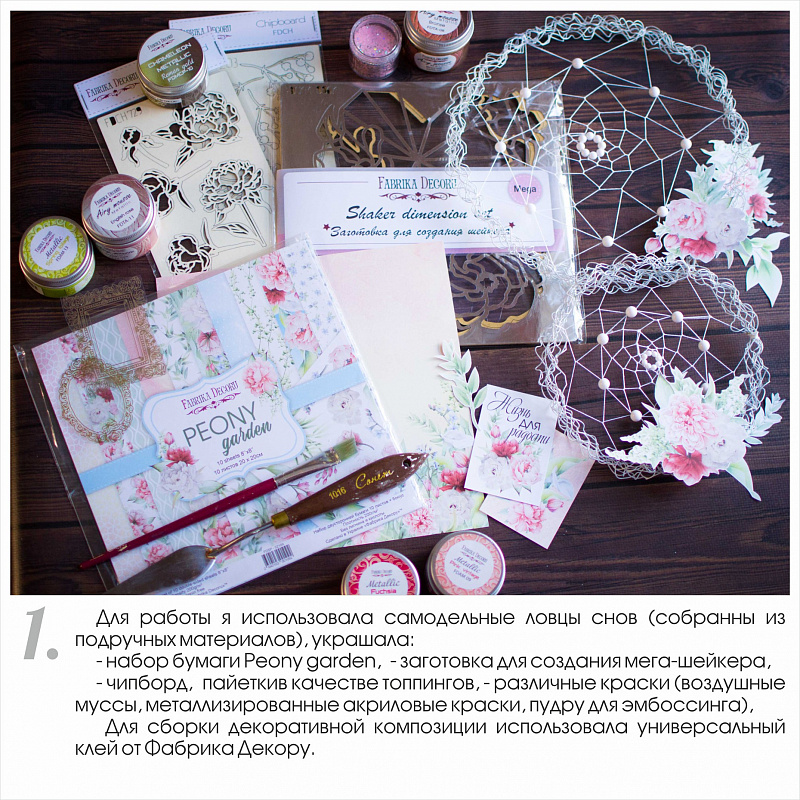
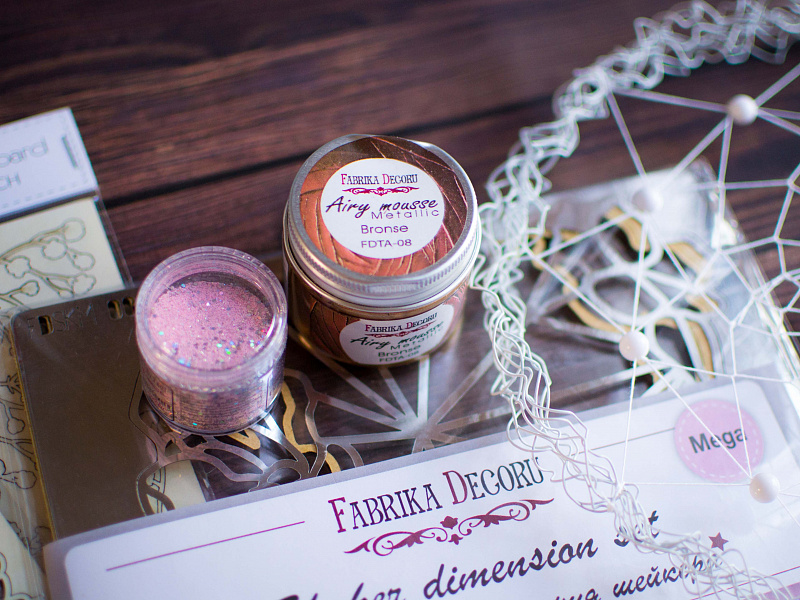
1. To make a dream catcher, I used handmade catchers which I created from scratch. To embellish the project, i used scrapbooking paper collection "Peony garden", a mega shaker blank, chipboard, sequins to fill up the shaker, different paints (airy mousses, metallic paints, embossing powder). All the elements are adhered with multi purpose glue by TM Fabrika Decoru.
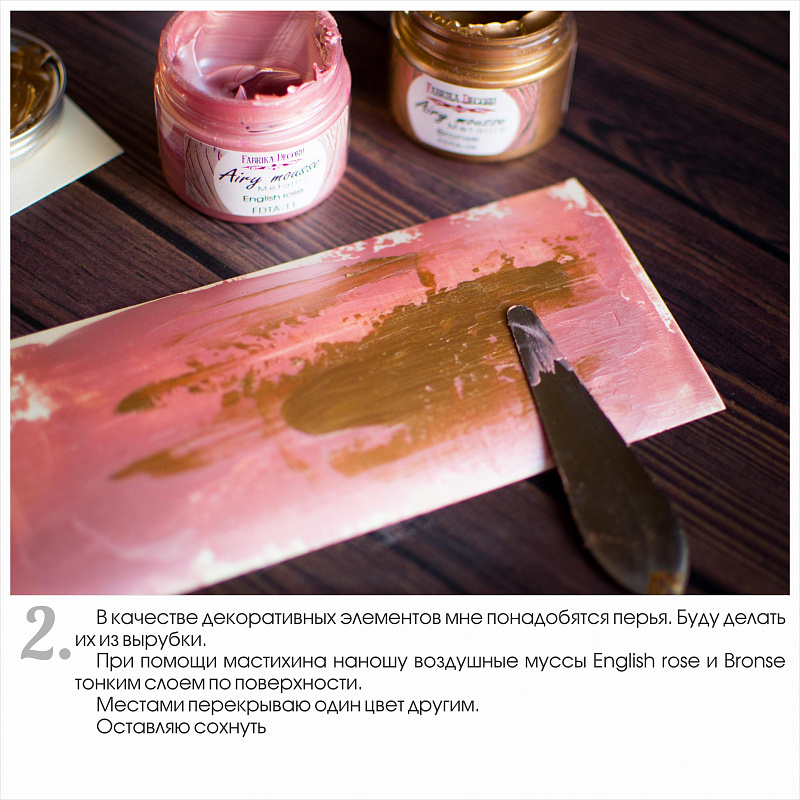
2. We will need feathers as embellishing elements for our dream catcher. I will die cut them. But first, take a cardstock or watercolor paper and apply airy mousses English rose and Bronse with a spatula. Apply thin layers, simetimes overlapping one color with the other.
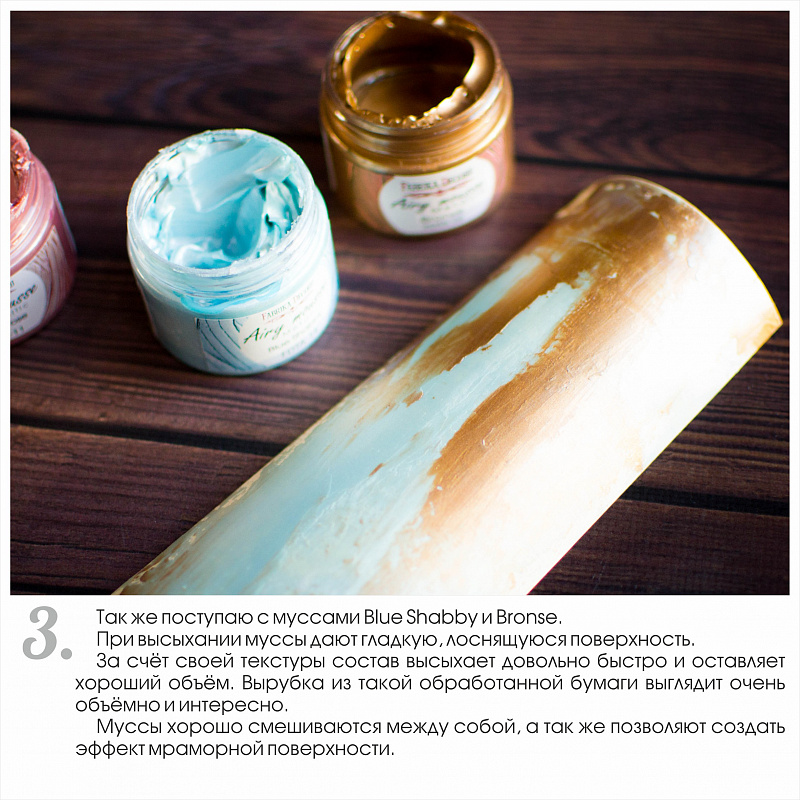
3. I do the same with airy mousses Blue shabby and Bronse. Whn dried out, the surface covered with mousses is smooth and shiny. The mousses dry out very fast and have great texture. Die cuts made of such paper look interesting with their 3D effect. Mousses can be easily mixed and allow to create the marble surface effect.
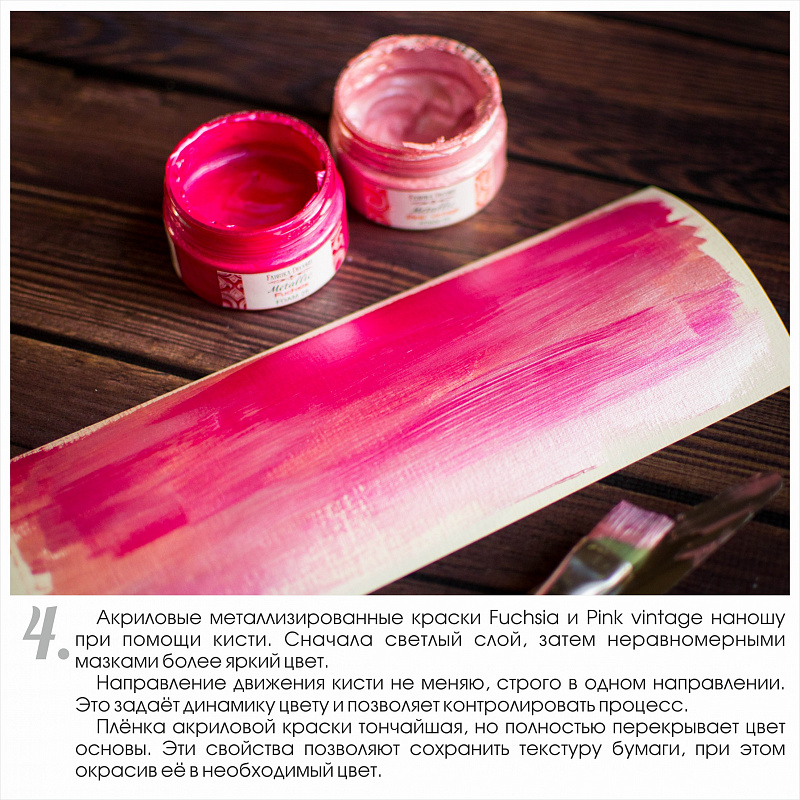
4. Apply acrylic metallic paints Fuchsia and Pink vintage with a brush. First, light layer, next brighter layer with uneven strokes of a brush. Do not change the deraction you move your brush in to get dynamic colors. The acrylic paint layer is very thin but it completely overlaps the surface color. This paint feature helps to preserve the paper texture adding desirable colors.
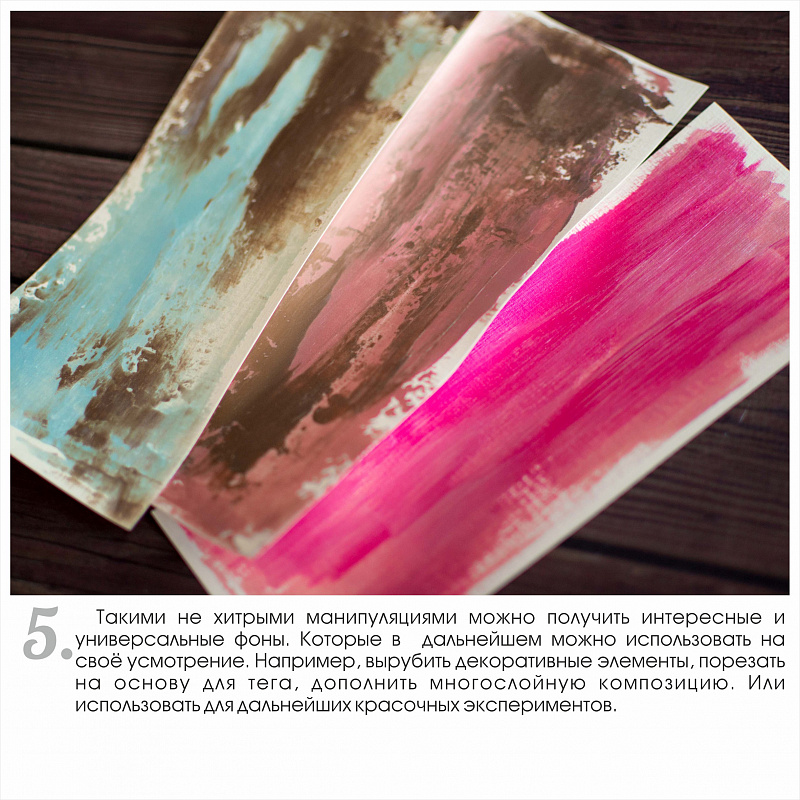
5. Using different paints by Fabrika Decoru, you can get interesting textures and colors. You can use them to make die cuts, as a basis for a tag or embellishing elements to enrich the composition.
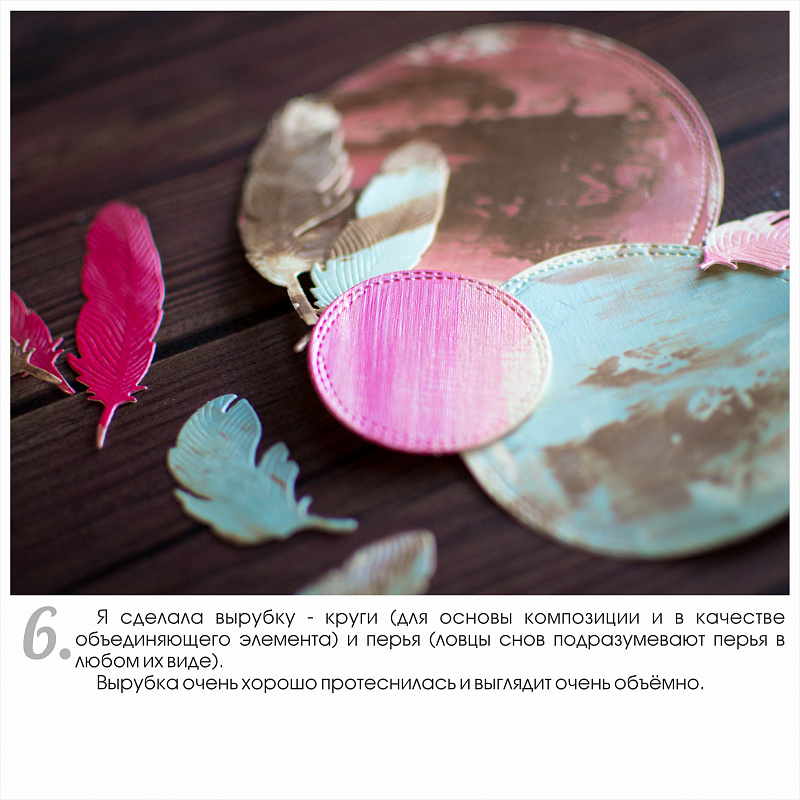
6. I made die cuts - circles for the background and feathers. Die cuts look really nice.
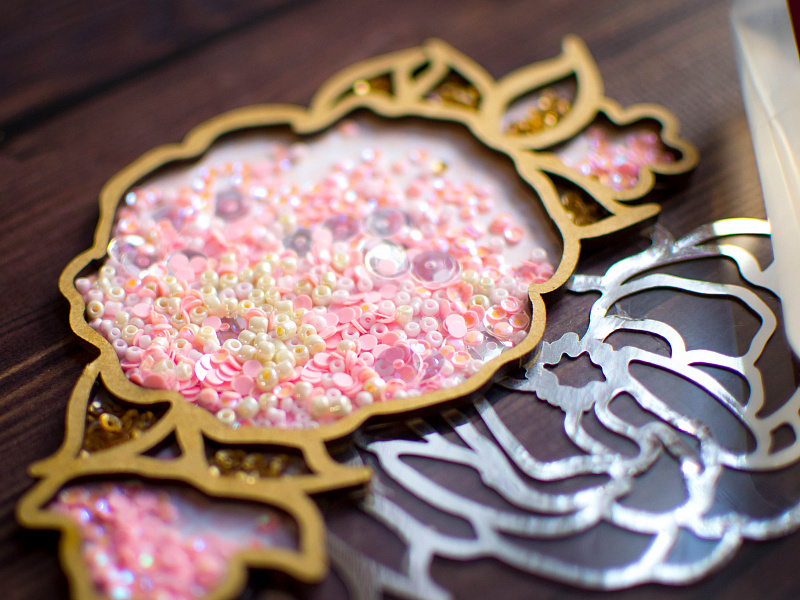
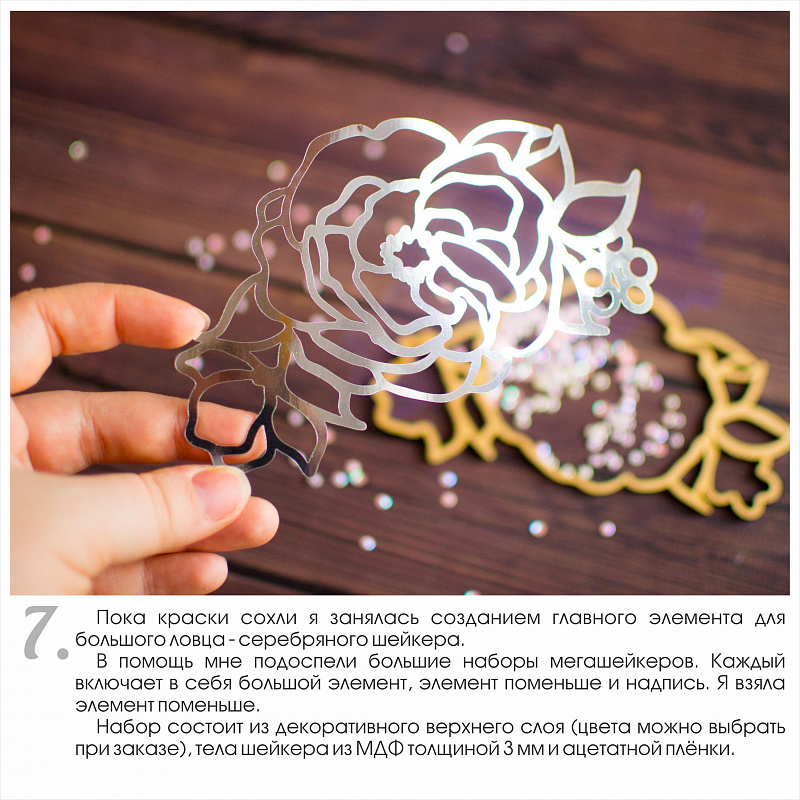
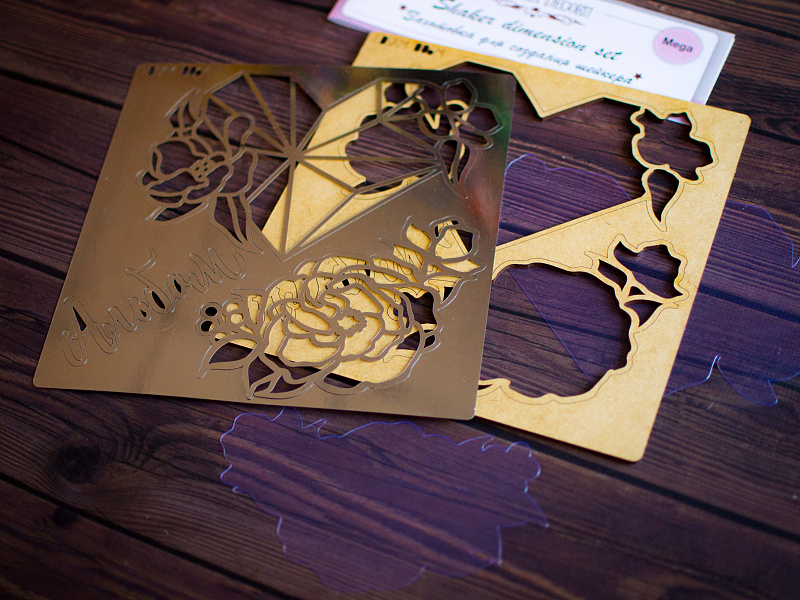
While the paints were drying out, I was making the central embellishment for a big dream catcher - silver shaker. I used a big set for creating a mega shaker. Every set includes a big element, a small element and an inscription. i used a smaller element. The set consists of the upper layer (its colors can be chosen while making an order), a base made of 3mm thick MDF and transparent acetate.
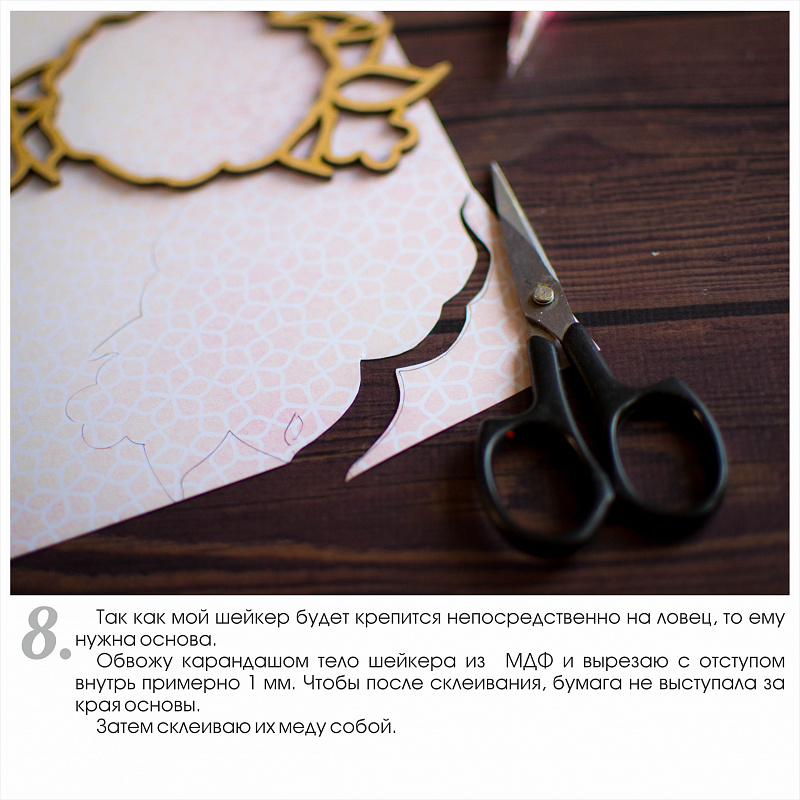
8. As my shaker will be adhered to the dream catcher, I scissored out the paper base for it. I outlined the edges of the shaker and scissored the element out retreating 1 mm inward so that the base does not crawl over the edges of the shaker. Then, I adhered both parts.
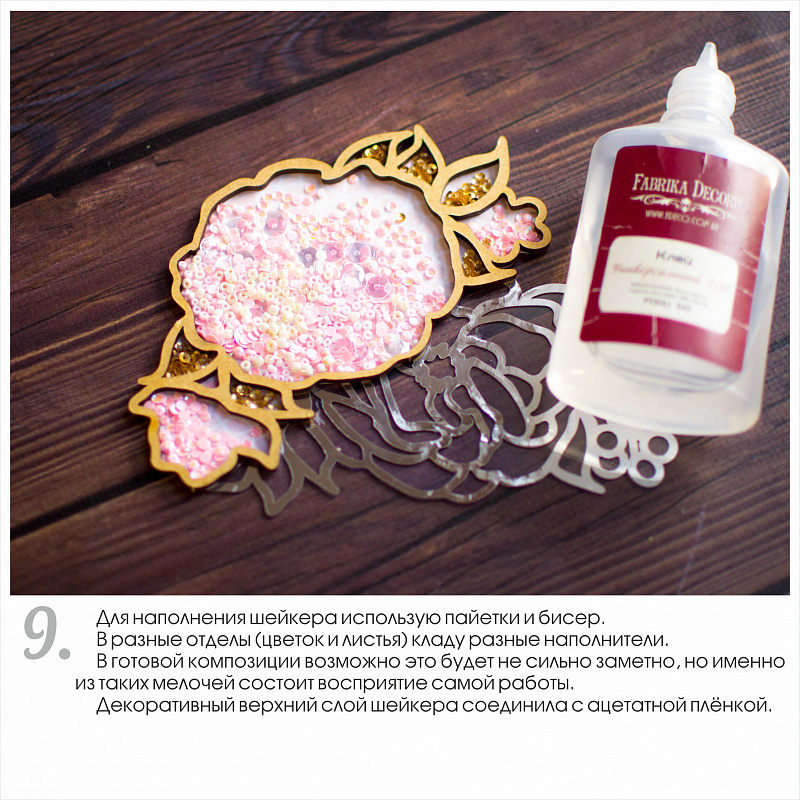
9. I filled up the shaker with sequins and beads. I filled up different partd of the shaker with different toppings. Then, I adhered the upper decorative layer with acetate.
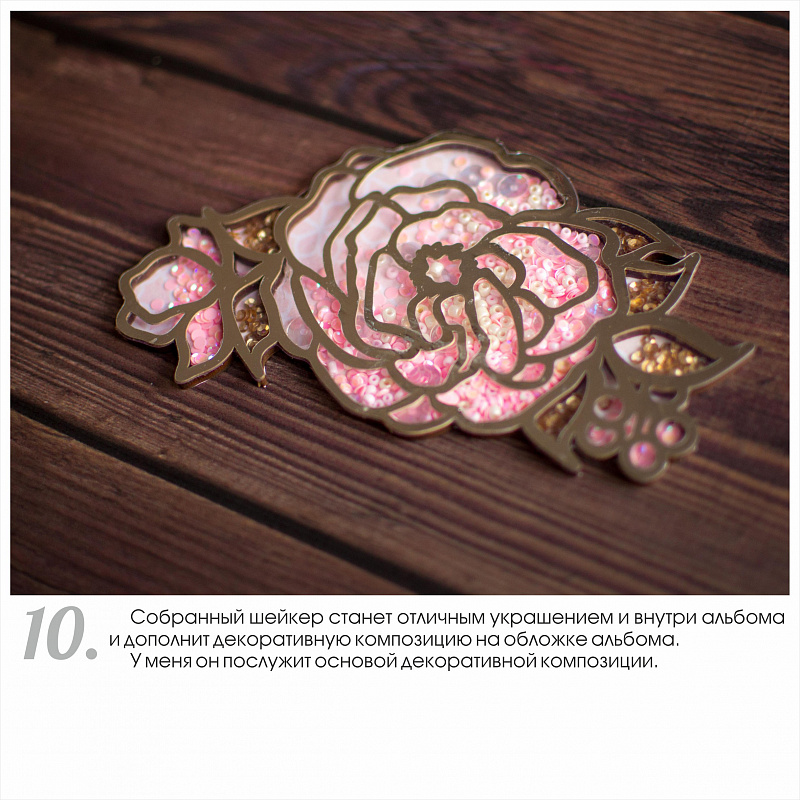
10. A ready made shaker can be used to decorate albums or layouts. I use it as a basic element for my dream catcher.
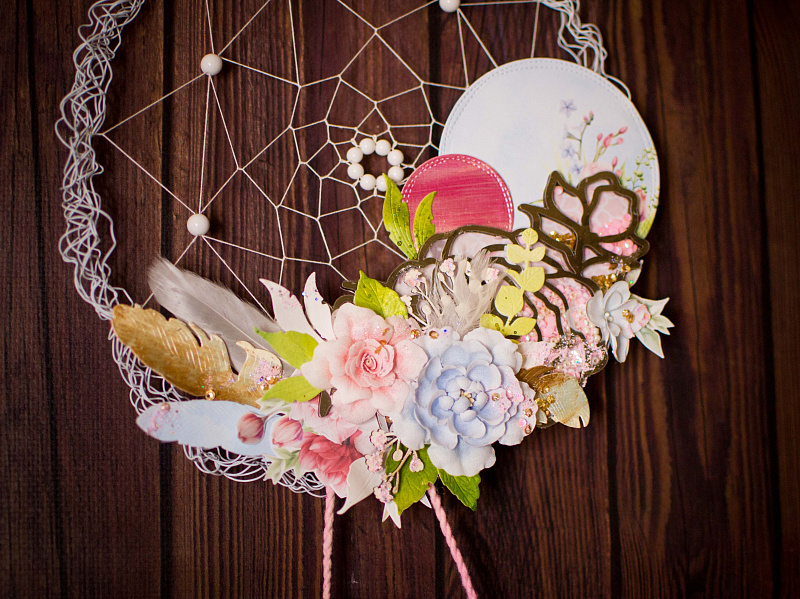
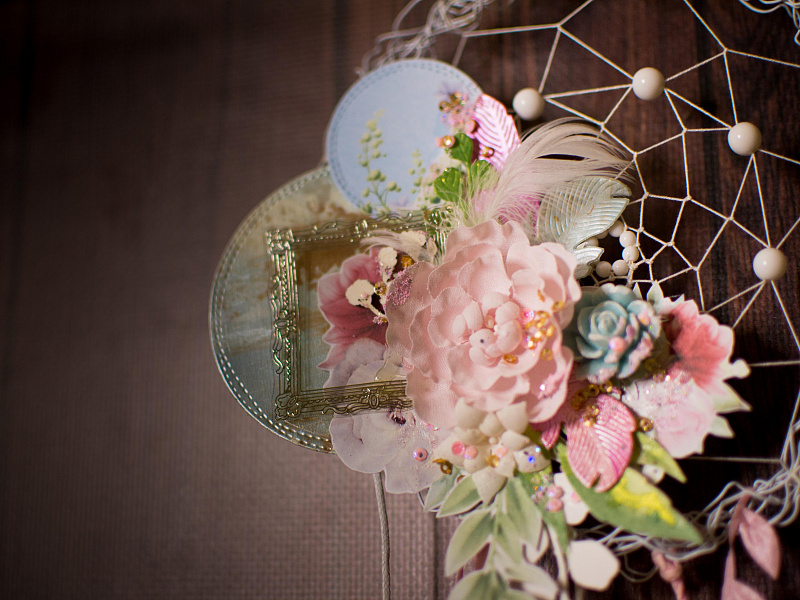
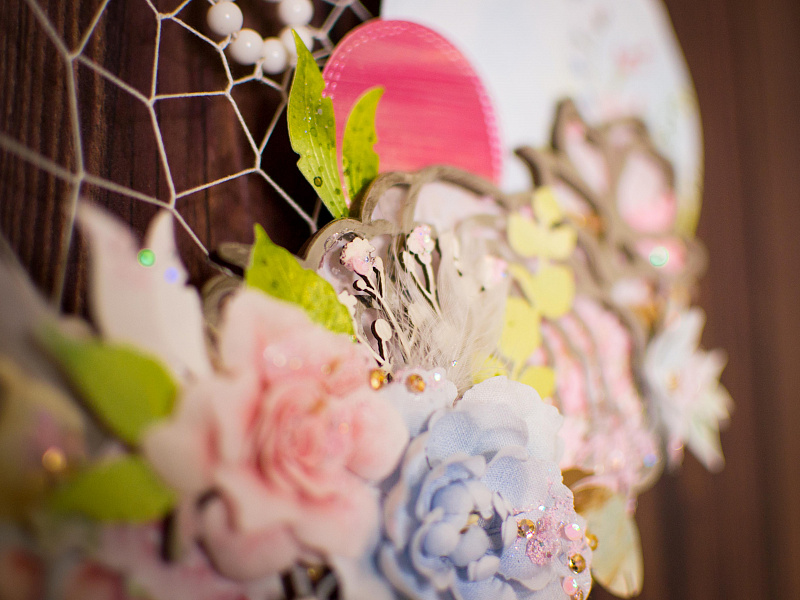
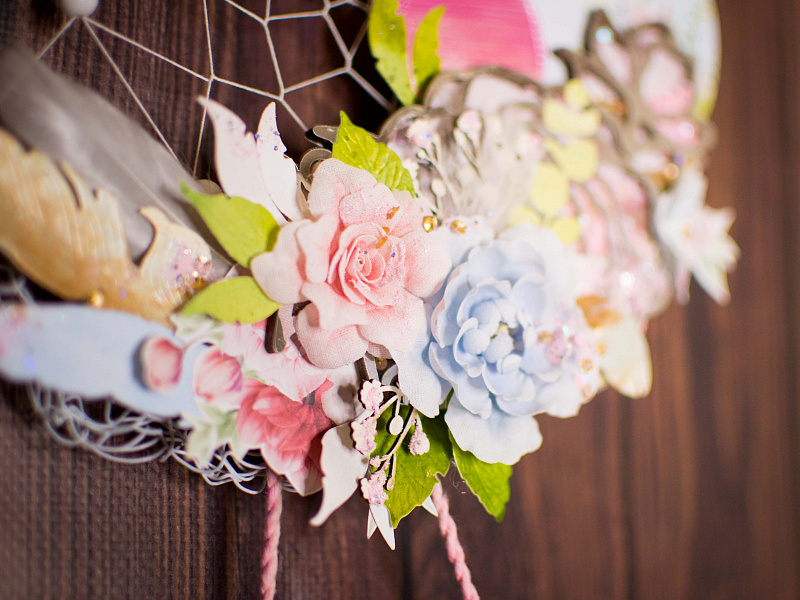
11. Using dies, I made some circle die cuts from the scrapbooking paper. First, I made the basic composition whicjh later will be completed with twigs and leaves, real feathers. When the composition is ready, I add some toppings, sequins and embossing powder Pink shabby
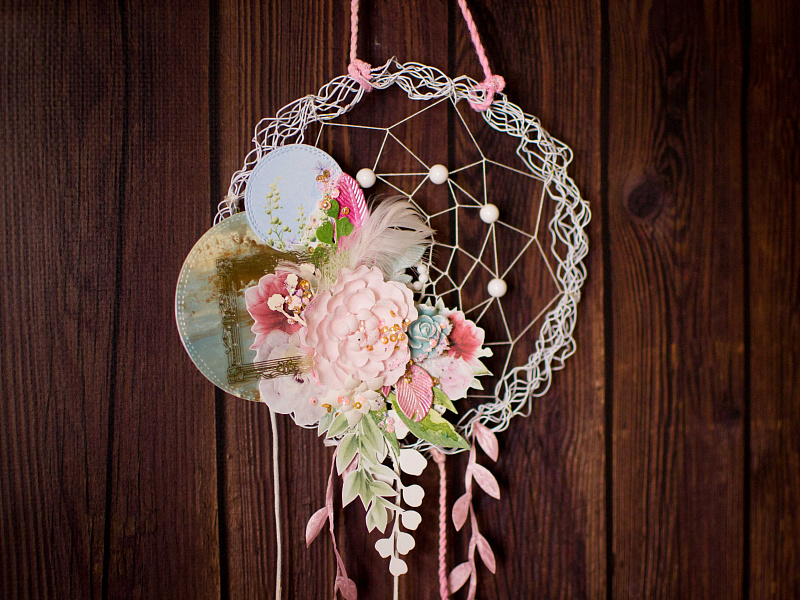
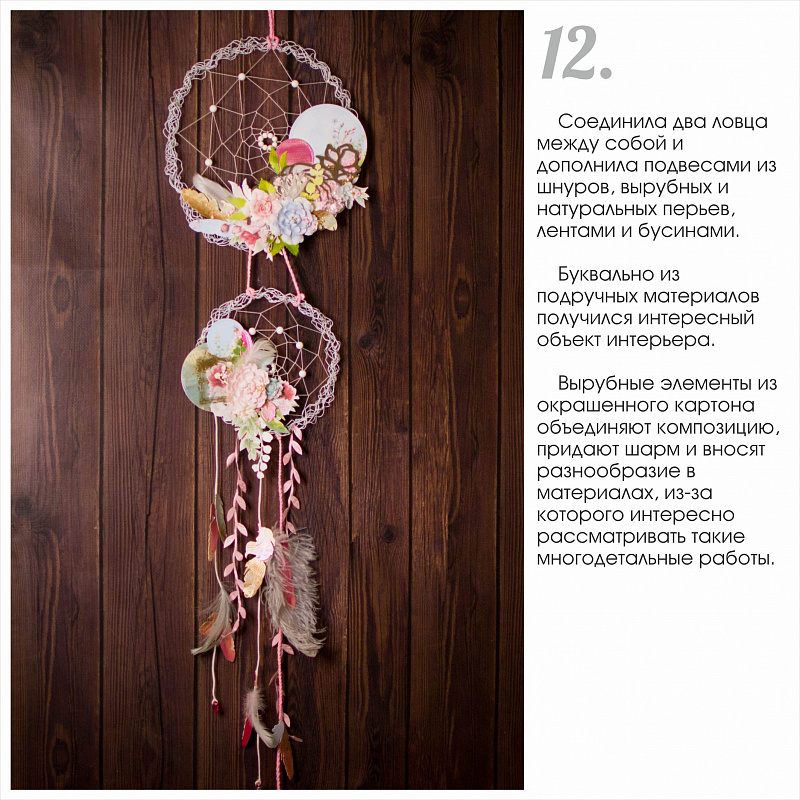
12. I connected both dream catchers and added more decorative elements using twines, die cut and real feathers, ribbons and beads. As you can see, using simple material, it is possible to create a beautiful project. Die cut elements from originally painted paper make such projects interesting and unique.
Embossing powder used as topping looks great!
I adhered embossing powder and sequins using transparent drops.
Happy crafting to you!